

A crisp edge is what makes a garden look cared for, and timber sleeper edging delivers that with a solidity that thin plastic or metal edging never matches. Whether you are defining a border, framing a path or holding back gravel on a driveway, sleeper edging draws a clean, lasting line that handles the knocks of everyday garden life. As a supplier of fencing and timber supplies in Clitheroe, we supply sleepers for edging projects throughout the summer, when gardeners are tidying borders and finishing paths ahead of the growing season.
The reason sleepers work so well as edging is their substance. A sleeper laid along a border holds its line against soil, mowers and foot traffic, and its generous width gives a finished, deliberate look that lighter edging cannot.
Laying Sleeper Edging That Stays Put
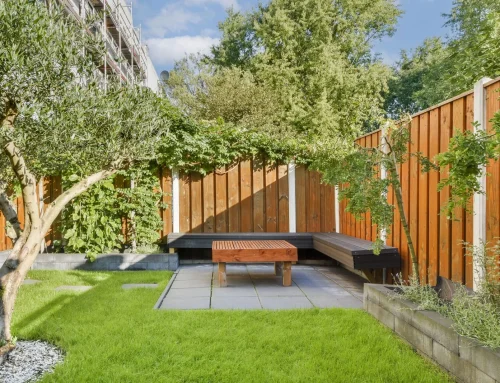
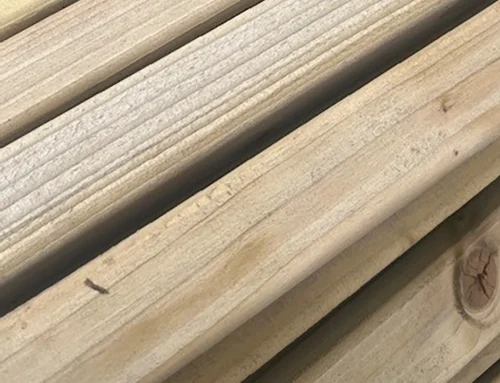
Sleeper edging is laid by setting the sleepers flat or on edge along the line you want to define, bedding them into a shallow trench so they sit level and firm. For a border, a single sleeper laid flat creates a wide mowing strip that lets a mower run right to the edge without leaving a strip to trim by hand. For a path or driveway, sleepers contain the surface material and stop gravel or chippings migrating into the beds. Our timber sleepers are the right weight for the job and sit within our wider timber range. Because sleepers are heavy and hold their position once bedded, the line you set at the start is the line you live with, which is exactly why the few extra minutes spent getting it straight and true repay themselves every single time you look down the run.
Bedding and Levelling
The trick to neat edging is a level, well-bedded base. Dig a shallow trench to the depth that brings the sleeper to the height you want, firm the bottom, and seat the sleeper so it sits straight along its length. Checking the level as you go, and tapping the sleeper down to true it up, gives the clean line that makes the whole job look professional. A sleeper bedded into firm ground rarely shifts.
Fixing and Joining
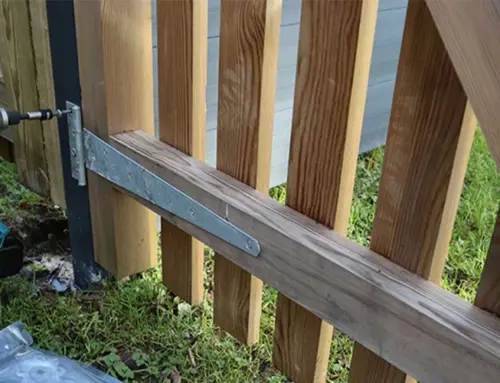
For a short run, a well-bedded sleeper may need no more than its own weight to stay put. For longer runs, or where the edging holds back a load such as gravel or raised soil, the sleepers benefit from being pinned to the ground and joined to each other so the line cannot drift apart. Stakes driven against the back of the sleeper, hidden in the border, hold it firmly, and long screws tie sleeper to sleeper at the joints. Our fixings and accessories range covers the pins and screws an edging job calls for.
Cutting Sleepers to Length
Edging rarely works out to exact sleeper lengths, so you will need to cut. Measure the run, work out where the joints fall, and cut the sleepers to suit so you finish with a tidy butt joint rather than an awkward short offcut at a visible point. Planning the cuts before you start keeps waste down and the joints in sensible places. For lighter edging or capping work, our timber boards range offers slimmer sections that complement a sleeper border.
Edging a Driveway
On a driveway, sleeper edging takes more punishment, holding back loose surfacing and occasionally taking the weight of a wheel. Here the sleepers want to be set deep and anchored well, because the loads are higher than in a flower border. Done properly, sleeper edging gives a driveway a strong, rustic frame that ages gracefully and keeps the surface material where it belongs.
Getting a Straight, True Line
Crisp edging stands or falls on the line. Running a string between pegs before you dig gives you a reference to set every sleeper to, so the finished edge reads as a clean, deliberate line rather than a wandering one. Checking each sleeper against the string and the level as you bed it in is what produces the professional finish, and the few extra minutes spent on the line at the start are repaid every time you look at the result.
Curves and Corners
Sleepers are substantial and do not bend, so curves are formed by setting shorter lengths at slight angles to follow the sweep, while corners are made with clean butt or mitred joints. Planning where these fall, and cutting the sleepers to suit, keeps the joints tidy and in sensible places rather than leaving an awkward offcut at a prominent spot. A little planning of the cuts turns corners and gentle curves from a problem into a feature.
Finishing and Protecting the Cut Ends
Every cut exposes fresh end grain, which is the part of a sleeper most open to taking up water. Treating the cut ends before the sleepers go in seals that vulnerable surface and protects the edging from the inside out. It is a small step that adds real life to a sleeper border, particularly one holding back damp soil or sitting alongside a path that stays wet, so it is well worth doing as you cut each length to fit.
If you want help working out how many sleepers your edging project needs, call us on 01200 449930 with the length of your runs. We offer free delivery on orders over £150 across all BB postcode areas, so your sleepers and fixings can arrive together. A neatly bedded, well-anchored sleeper edge holds its crisp line for years and gives borders, paths and driveways the finished frame that lifts the whole garden.