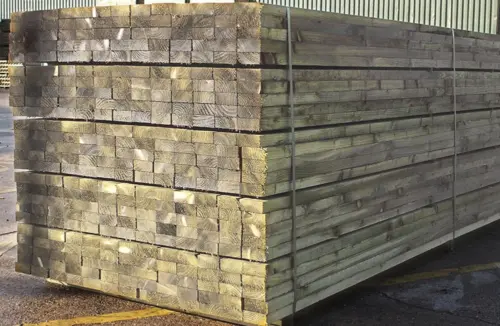

Replacing feather edge boards one at a time is one of the most useful repairs a fence owner can learn. As a supplier of fencing and timber supplies in Clitheroe, we see plenty of closeboard fences with just a few split or rotten boards. Usually, the posts and rails are still sound. So there is no need to replace the whole run.
Why Closeboard Fences Are Easy to Repair
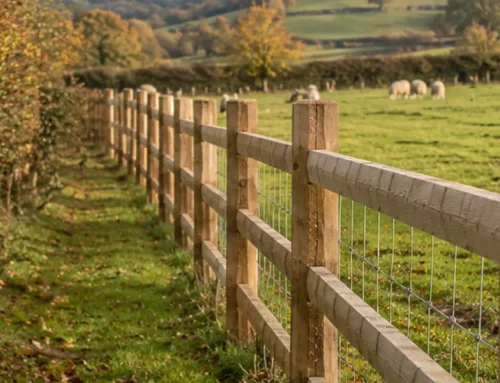
A closeboard fence is built from separate parts. Posts hold the rails, and the rails carry vertical boards nailed side by side. Because each board is fixed on its own, you can remove one without disturbing its neighbours. That makes replacing feather edge boards far simpler than repairing a panel fence.
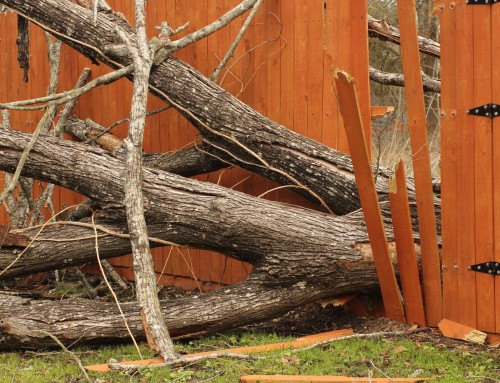
Closeboard is also very strong, which is why it suits exposed spots. Our article on why closeboard fencing is one of the strongest options explains the construction in more detail. However, even a strong fence suffers over time. Lancashire rain, frost and wind all take their toll on individual boards.
Spotting Boards That Need Replacing
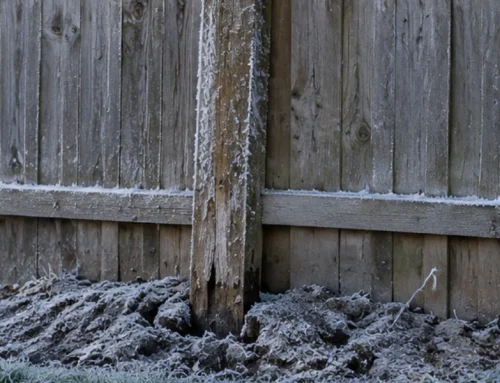
Start with a slow walk along both sides of the fence. Look for boards with long vertical splits, soft patches or missing chunks. Next, press each suspect board with your thumb. Sound timber feels firm, whereas rotten timber gives or crumbles.
Pay close attention to the bottom few inches. That is where boards sit nearest the damp ground. In addition, check around the nail heads, because water often gets in there first. Not every fault means replacing feather edge boards, because a single loose board may only need re-nailing.
Choosing the Right Board Size
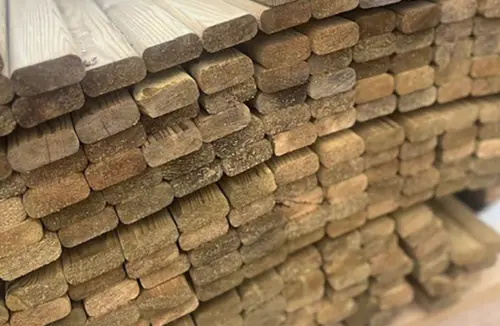
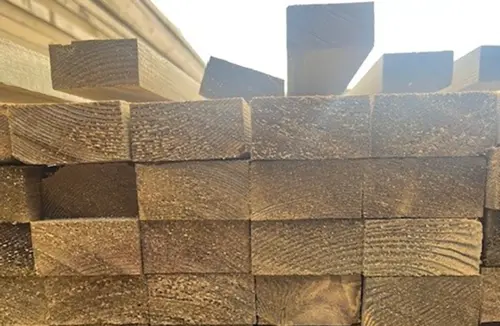
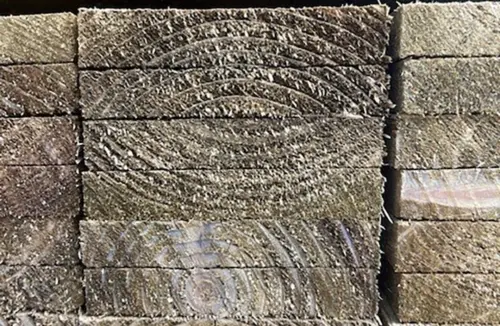
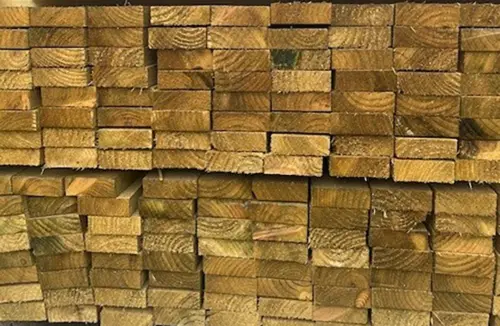
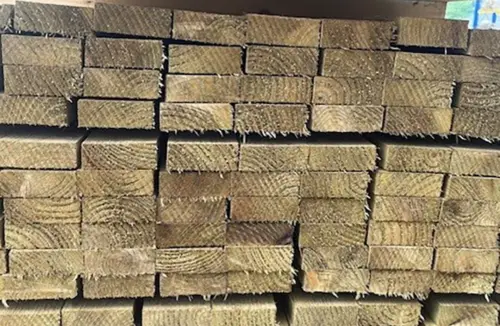
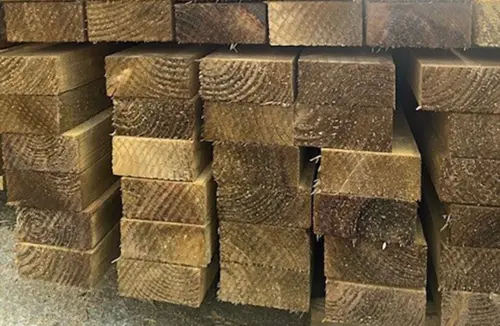
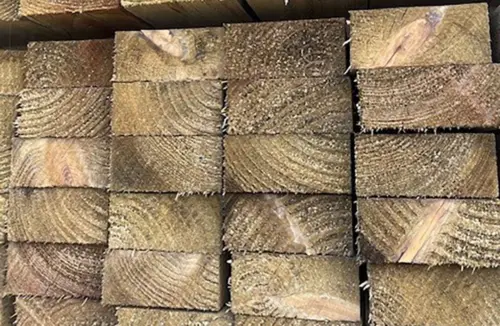
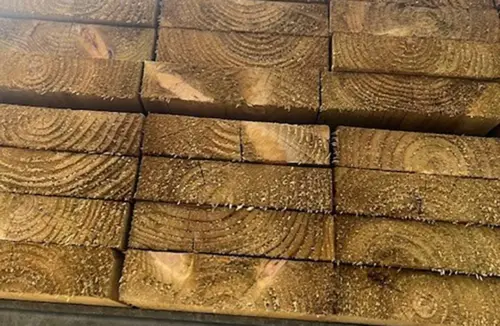
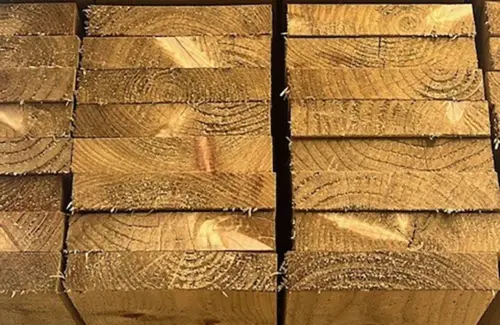
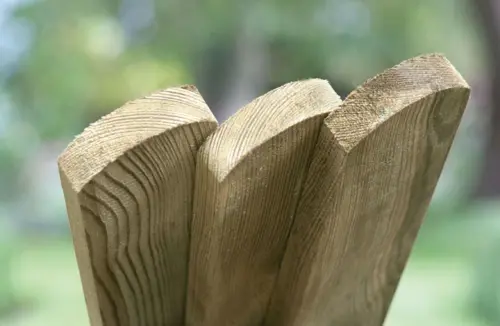
Our feather edge board is 125mm wide and 22mm thick at the thick edge. It comes in 1.2m, 1.5m and 1.8m lengths. Therefore, it suits most low, mid and full height closeboard fences.
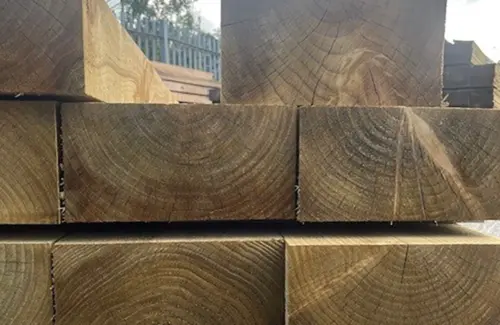
When replacing feather edge boards, measure an existing board before you order. Measure from the bottom to the top, not including any capping. If your fence is slightly shorter than a standard length, buy the next size up. You can then trim the board to match. Our wider range of timber boards is worth a look if you have other repairs in mind.
Removing the Old Board
First, find the nails holding the board to each rail. Usually there are two or three rails, each with one or two nails. Then ease the board away with a flat bar or claw hammer. Work gently so you do not split the boards on either side.
Sometimes the old nails snap or stay in the rail. If so, pull them out with pincers or punch them flush. Afterwards, check the rails behind for rot. A soft rail will not hold a new nail for long, so it may need replacing too.
Replacing Feather Edge Boards With the Correct Overlap
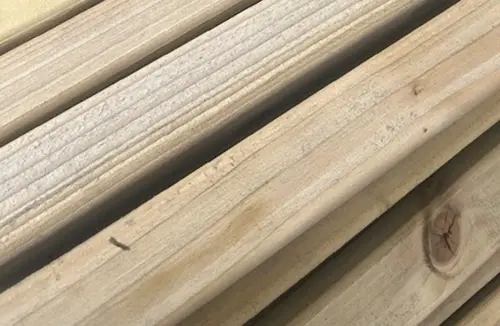
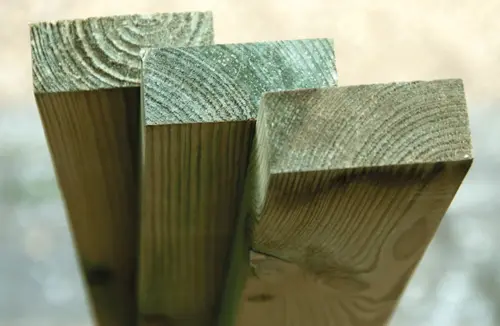
Feather edge boards are tapered across their width. One edge is thick and the other is thin. When replacing feather edge boards, the thin edge of each new board tucks under the thick edge of the next. Aim for an overlap of approximately 25mm.
That overlap matters for two reasons. Firstly, it keeps the fence looking solid with no see-through gaps. Secondly, it allows each board to shrink in summer without opening a gap. Timber naturally shrinks in warm, dry spells and swells again in wet weather.
Hold the new board in place and check it is vertical with a spirit level. Make sure the bottom sits at the same height as its neighbours. Then fix it to each rail.
Nails, Rails and Gravel Boards
Always use galvanised nails for fence boards. Plain steel nails rust quickly in our climate. They also leave black streaks running down the timber. Use one nail per rail, placed through the thick edge only. That way, the board can move a little without splitting.
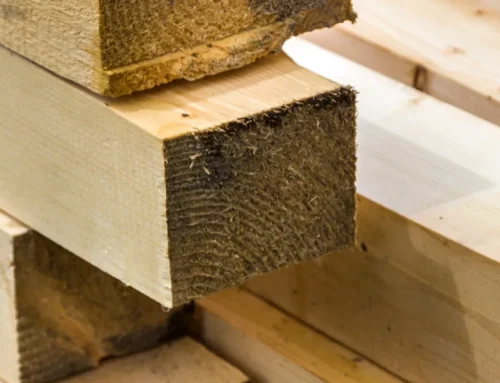
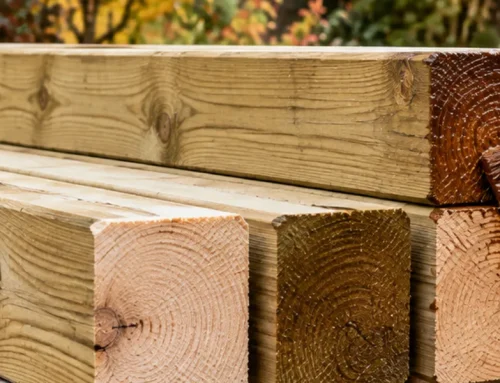
If the rails themselves have failed, rough sawn rails make a sound replacement. Our article on rough sawn rails and how to choose the right size covers the options. Meanwhile, check the gravel board along the bottom. A gravel board keeps the feather edge boards off the soil, which slows rot considerably. If yours is missing, the bottom of every board will keep getting wet.
Working Out How Many Boards You Need
With a 25mm overlap, each 125mm board covers roughly 100mm of fence. So a one metre gap needs about ten boards. If you are replacing feather edge boards in a few scattered spots, simply count the damaged boards and add one or two spares. Spares are handy if a neighbouring board splits during removal.
If more than a third of a bay has failed, it may be easier to reboard the whole bay. In that case, take down every board and check the rails first. Then work from one post to the other, keeping the overlap even. Our timber range covers boards and rails for larger sections.
Picking the Right Day for Replacing Feather Edge Boards
Choose a dry day if you can. Damp boards are heavier, and stain will not soak into wet timber. In addition, a calm day makes holding a 1.8m board far easier. Gusts along an exposed boundary can catch a loose board like a sail.
Treating the New Timber
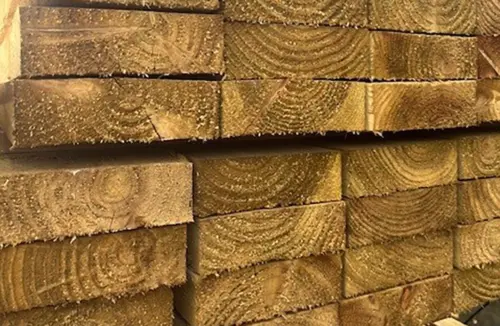
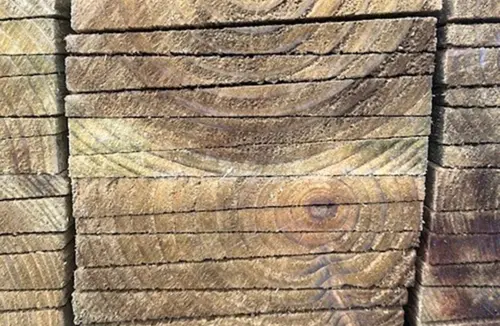
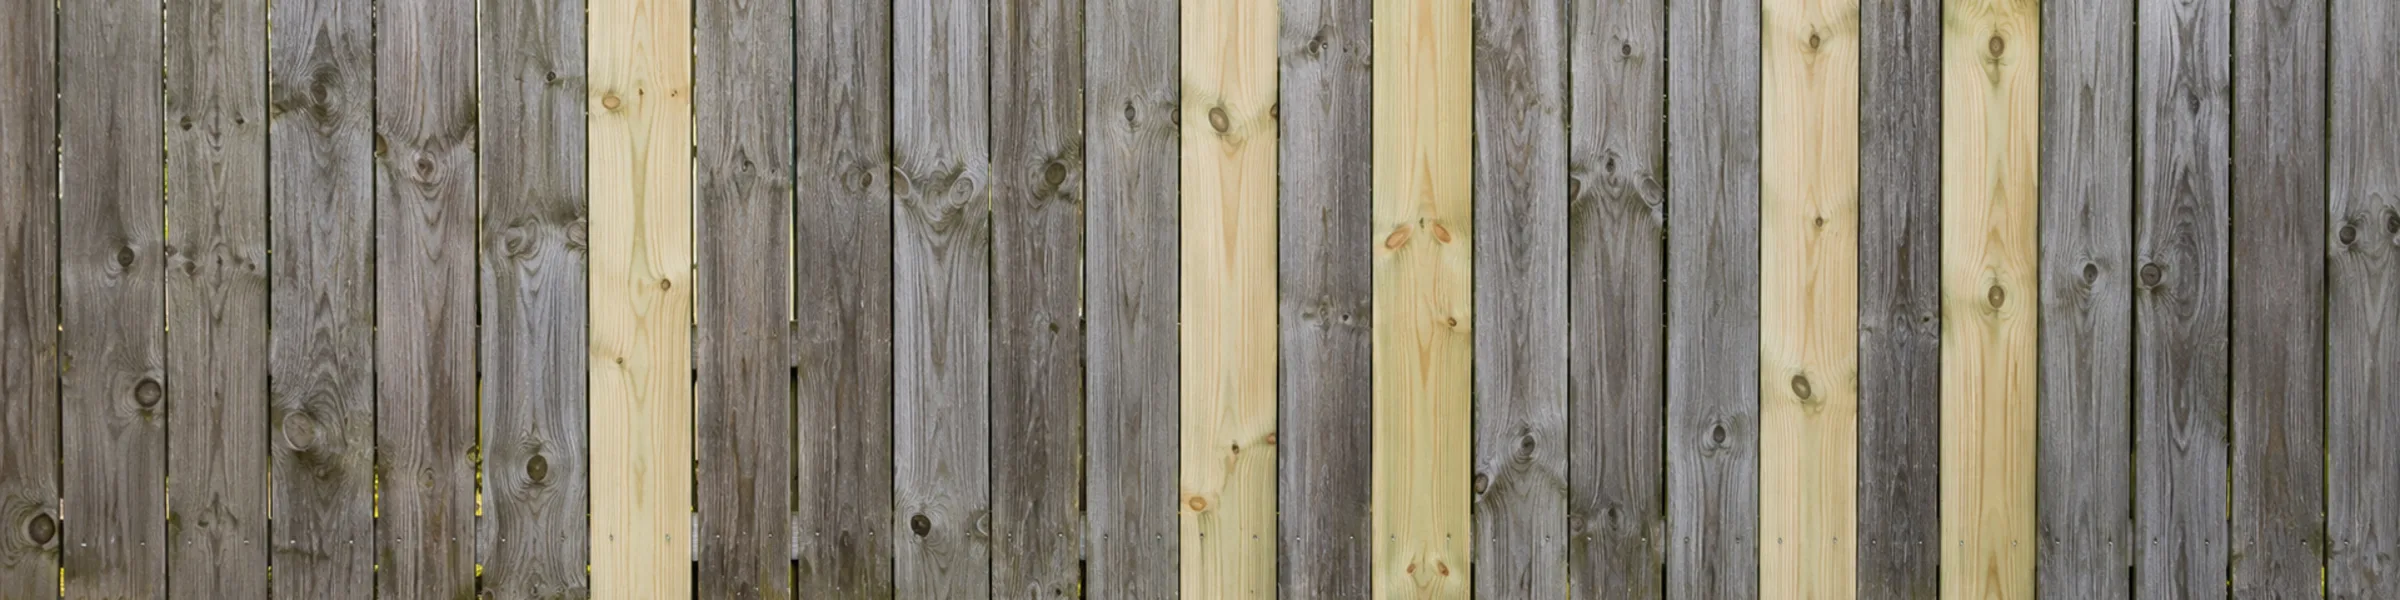
Our timber is pressure treated softwood. Even so, a fresh board will look paler than older weathered ones at first. That difference fades over a season or two. Alternatively, you can apply a fence stain to blend it in sooner.
If you trim a board, treat the cut end with a suitable preserver. Cut ends expose untreated timber at the core. Therefore, they absorb water quickly if left bare.
Local Repairs in Waddington and Sabden
Fences in the villages below Pendle Hill take a battering from westerly winds. As a result, we often supply single boards and rails rather than full fences. Customers can find more on our Waddington fencing page. Similarly, the Sabden fencing page covers that village. We aim to deliver within 5 working days, and we call ahead with your delivery day.
Need boards, rails or fixings for a repair? Call us on 01200 449930 for advice or to place an order. We offer free delivery on orders over £150 across all BB postcode areas. Smaller repairs can also be collected from our Clitheroe yard.