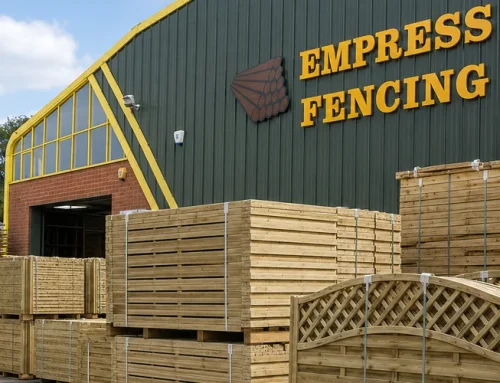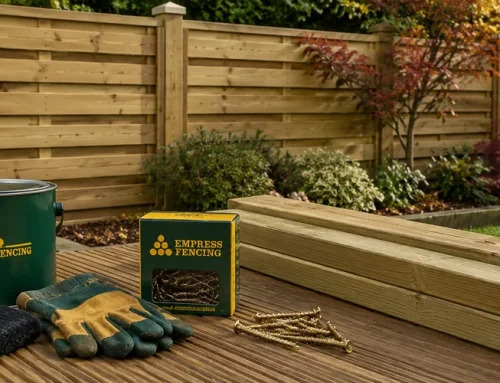

Replacing a single fence panel is often all a tired boundary needs after a stormy autumn. One panel blown out or rotted at the base does not mean the whole fence has to go. At Empress Fencing, we supply fencing and timber supplies in Clitheroe, and we help DIY customers match panels every week. This guide explains how to measure, match and fix one new panel into an existing run.
Getting a Single Replacement Panel Right First Time
Replacing a single fence panel is a manageable DIY job. However, it only goes smoothly if you measure carefully and check the posts first. A few minutes of preparation saves a second trip to the yard.
Checking the Posts Before Anything Else
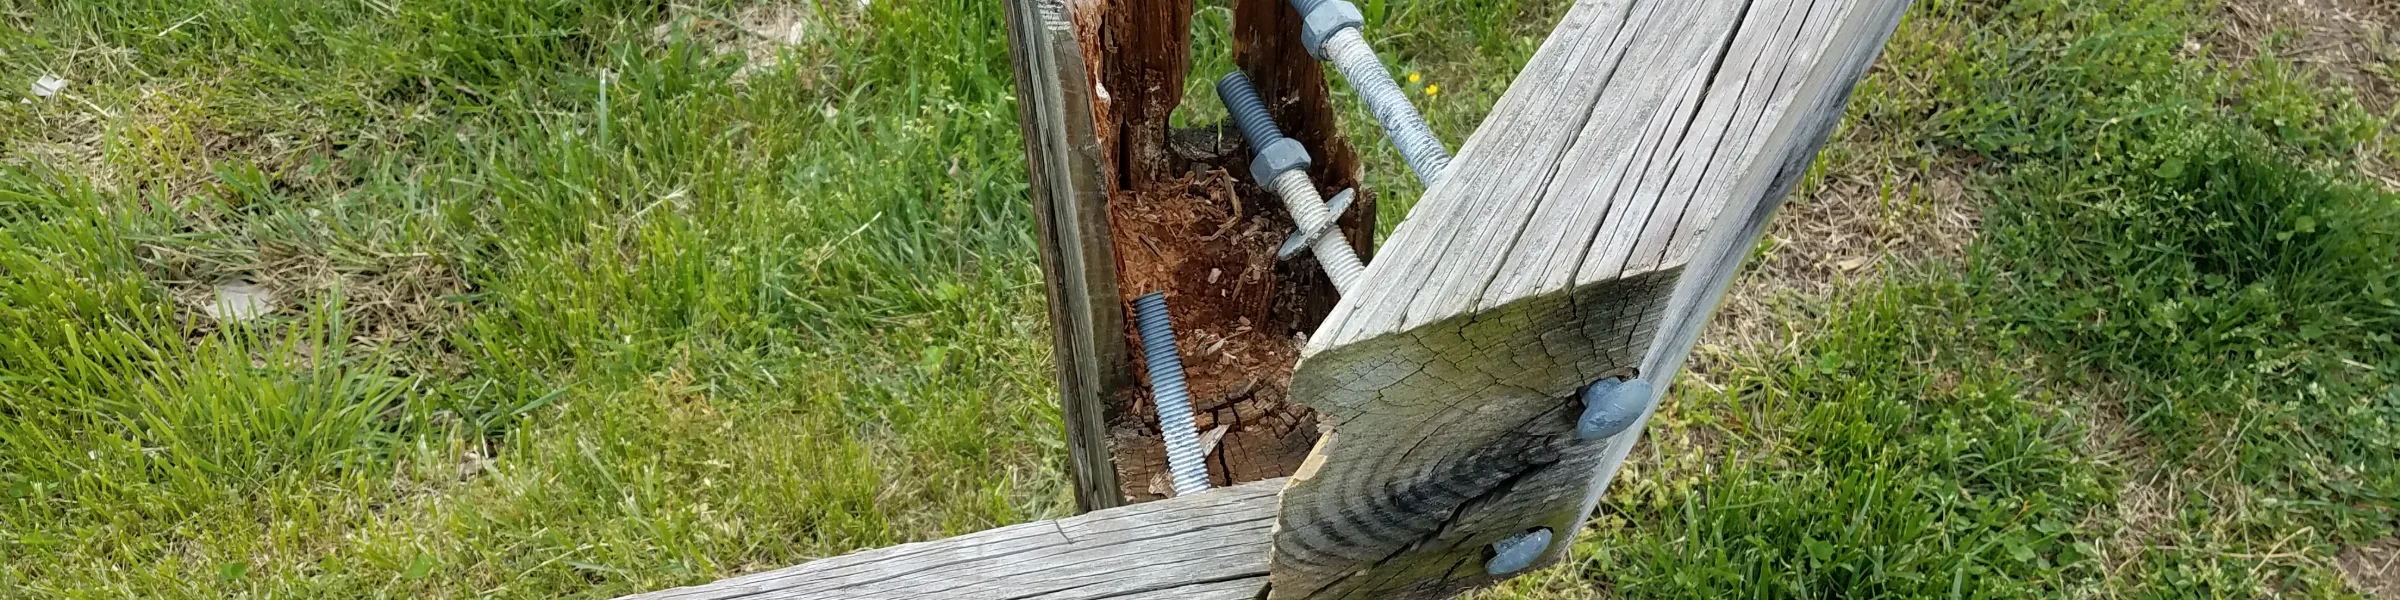
Before replacing a single fence panel, check the posts either side of the damaged one. Push each one firmly at the top. If a post moves, leans or feels soft at ground level, a new panel will not fix the problem.
Next, check the base of each post with a screwdriver. Sound timber resists the tip, whereas rot gives way easily. If a post has failed, replace it before the panel. Our guide on why fence posts fail explains what to look for below ground.
Measuring the Gap When Replacing a Single Fence Panel
Measure the gap between the two posts at the top, middle and bottom. Posts are rarely perfectly parallel, especially on older fences. Therefore, use the narrowest of the three measurements.
Most of our panels are a standard 6ft wide. If your gap is slightly wider, clips and a little packing usually cover it. However, if it is noticeably narrower, the panel may need trimming, which takes more care.
Also measure the height from the ground or gravel board to the top of the neighbouring panels. That way, the new panel will sit level with the rest of the run.
Matching the Panel Style
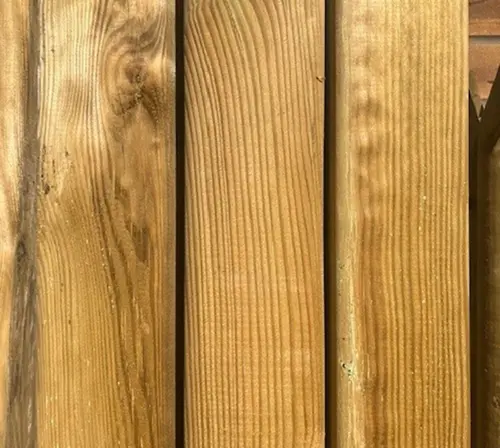
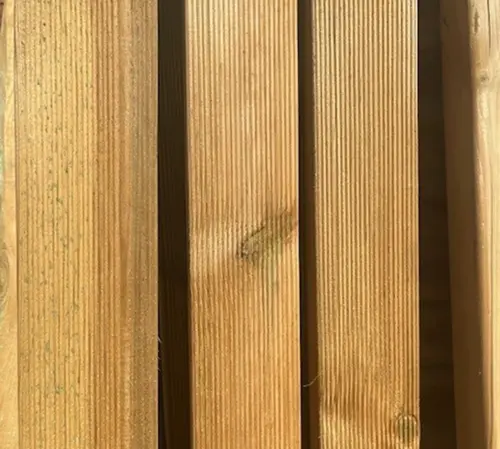
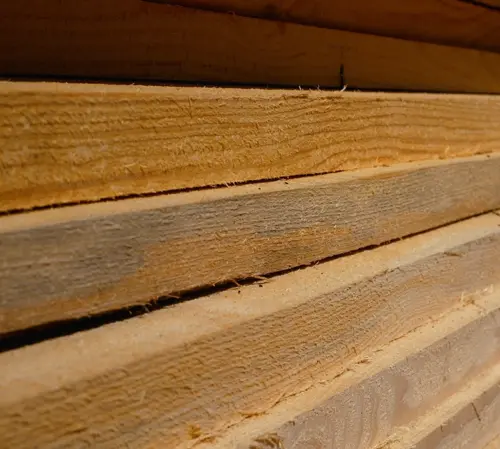
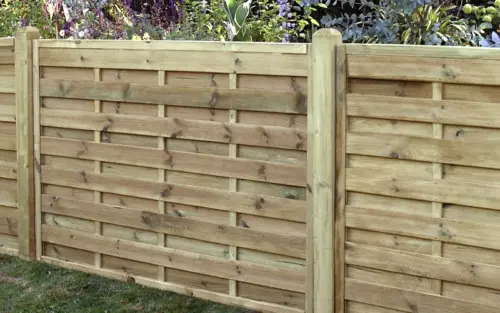
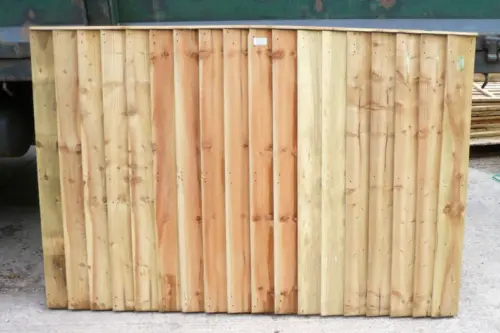
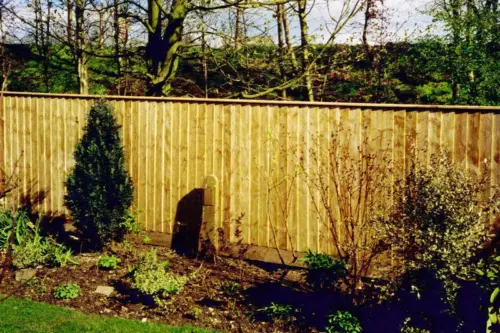
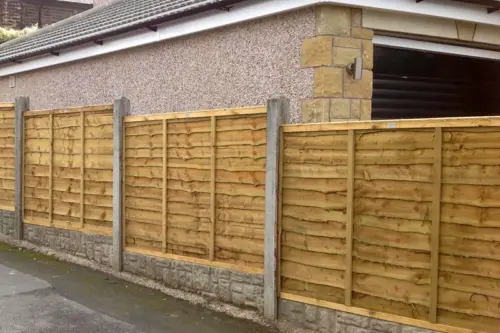
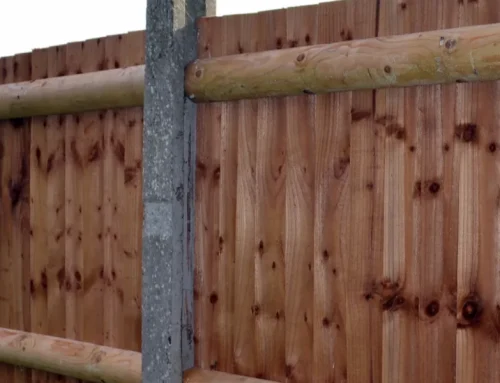
When replacing a single fence panel, look closely at the panels either side. A 6ft feather edge fence panel has vertical overlapping boards. By contrast, a waney lap panel has horizontal boards with a natural wavy edge.
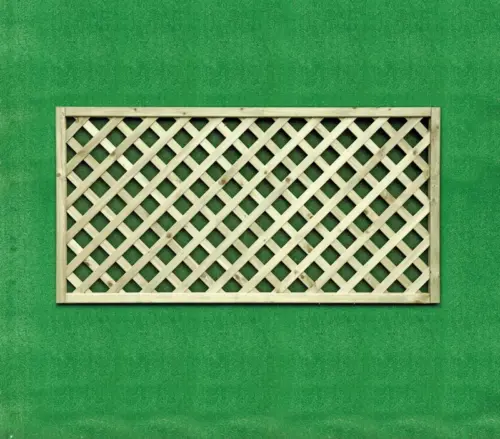
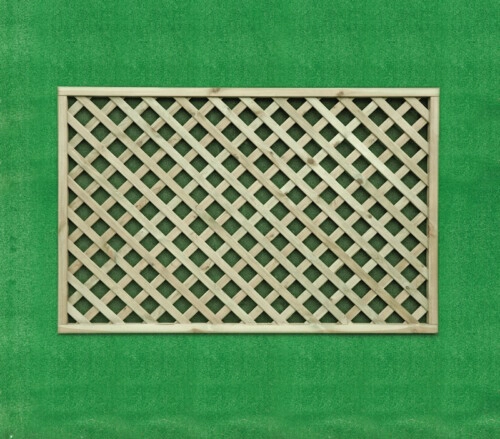
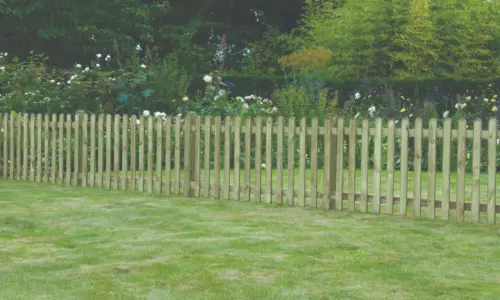
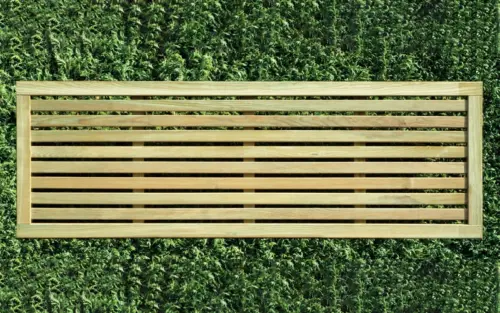
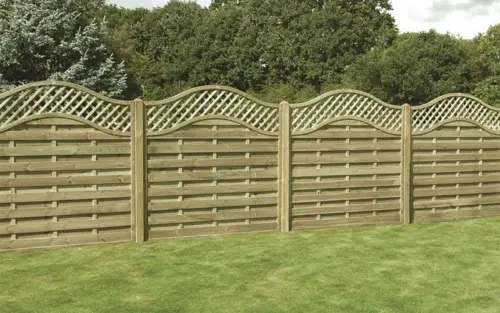
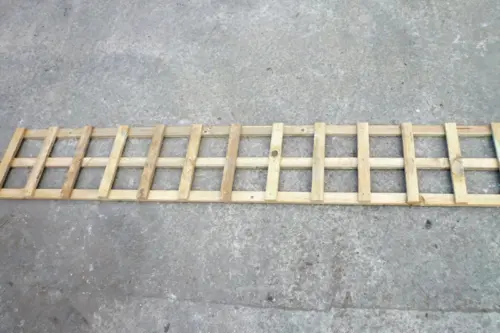
Our range of 6ft fence panels also includes arched feather edge, trellis and picket styles. In addition, we stock 1.8m lattice, slatted and square horizontal panels. Take a photo of your existing fence to the yard if you are unsure which style you have.
Using the Right Clips for Replacing a Single Fence Panel
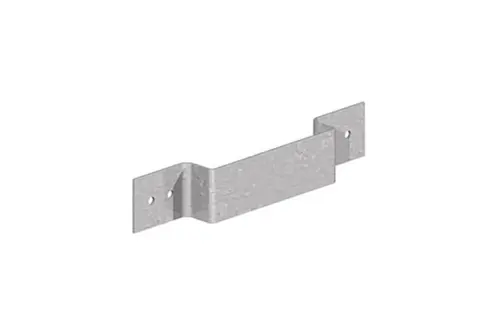
Fixings matter as much as the panel itself. For waney lap panels, U clips are the usual choice. Our 52mm galvanised U clips wrap around the panel frame and screw to the post face.
Alternatively, L clips suit many other panel types. S clips, at 60mm, are designed for fixing trellis to posts. All of these come from our fixings and accessories range.
On exposed sites, an anti rattle clamp is worth adding too. It stops the panel rattling in the wind, which reduces wear on the frame. Our guide to fence panel clips, brackets and anti rattle clamps covers each option.
Removing the Old Panel Safely
Taking the old panel out is usually the hardest part. First, remove any screws holding the clips to the posts. Old screws often rust in place, so a little penetrating oil helps.
Next, ask a second person to hold the panel while you free the last clips. A 6ft panel catches the wind easily, even when it is damaged. Then lift it out carefully, keeping clear of nails and splintered boards.
Once the gap is clear, check the old clips. If they are rusted or bent, replace them rather than reusing them. Fresh galvanised clips are inexpensive and grip far better.
Fitting the New Panel Into the Gap
Fix the new clips to the posts at the same height as the neighbouring panels. Usually, three clips per side is enough for a 6ft panel. Then slide the panel into place and check it with a spirit level.
If the bottom sits on soil, lift it slightly with a gravel board or packing. Otherwise, the lowest boards stay wet through winter. Finally, screw through the clips into the panel frame and check that it no longer moves.
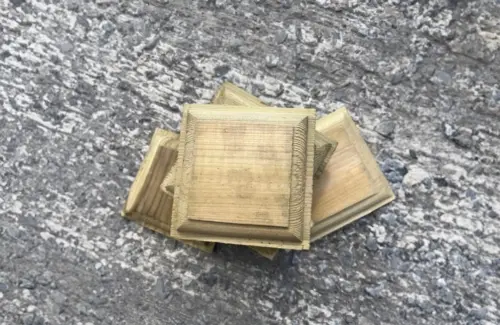
A timber post cap on each post is a sensible finishing touch. It keeps rain off the end grain at the top of the post.
Living With a Weathered Colour Mismatch
A new panel will look brighter than its neighbours at first. Pressure-treated softwood starts fresh and gradually weathers. As a result, replacing a single fence panel leaves one bright panel for a while.
Over a season or two, the difference softens naturally. Alternatively, you can treat the whole run with a coloured fence treatment to even it out. Either way, a slight mismatch is normal and not a fault.
When One Panel Turns Into Three
Sometimes replacing a single fence panel reveals damage that spreads further than it first appears. Once the broken panel is out, the neighbours may look loose or soft. In that case, replacing two or three panels now is better than returning in spring.
Storm damage often follows a pattern. If one panel blew out, the panels either side took the same wind load. Therefore, check their frames and clips closely before you refit.
Also consider the cause. If the panel failed because a post rotted, the other posts may be close behind. Planning a slightly bigger job now saves another weekend later.
Ordering Panels in Waddington and Chatburn
Many cottages in Waddington have older feather edge and waney lap runs along their gardens. A careful single-panel swap keeps those boundaries looking tidy. Our Waddington fencing page covers local orders.
Similarly, Chatburn gardens often back onto lanes and fields that catch the wind. That makes anti rattle clamps and sound posts especially useful. See our Chatburn fencing page for more detail.
Need help replacing a single fence panel this autumn? Call Empress Fencing on 01200 449930 to check panel styles, clips and posts. Delivery is free on orders over £150 across all BB postcode areas, and collection from our Clitheroe yard is also available.